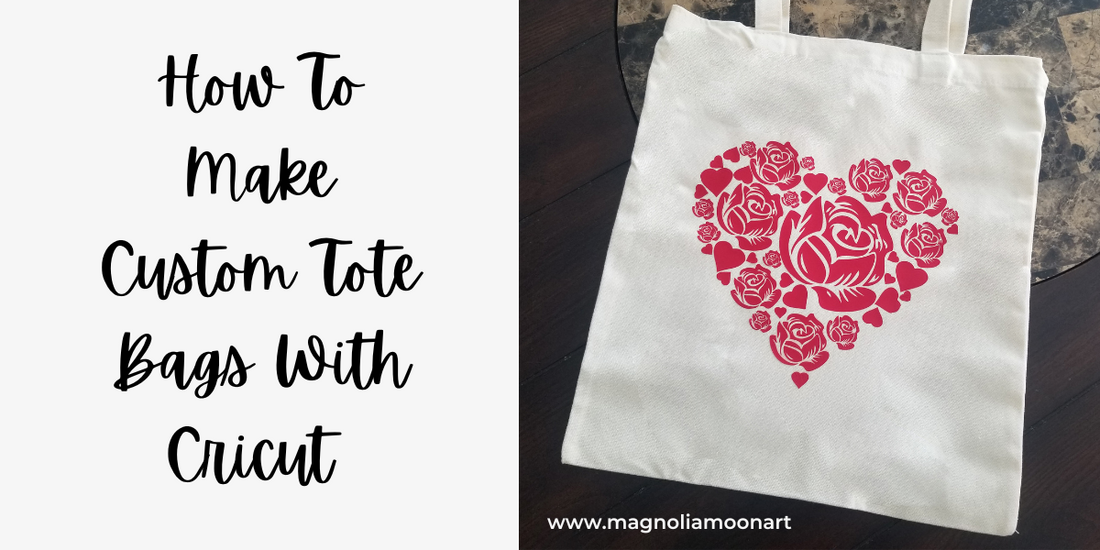
How to make custom tote bags with Cricut.
Today I will share with you how to make a custom bag with your Cricut. Those bags look cute, and they can be practical too. To create a custom tote bag, you will need to gather supplies.
Step 1:
To make my bag I used:
Cricut Air Explore 2
Cricut EasyPress Mat
Mini Heat Press
Canvas Tote Bag
Iron on vinyl
Cricut Weeding Tool
Cricut Scissors

Step 2:
Now it is time to create a design. You might have already one you like saved on your computer. If you don’t, you can find plenty of designs in Cricut Design Space. I used a rose heart created by me in Adobe Illustrator. Please e-mail me if you would like to use the same rose as I did, I will send it to you at no additional cost.
When you decide on your design, the next step will be to measure your tote bag. In Design Space resize the image to fit your tote bag. I will have mine set to 9” wide x 8.2” height.

Step 3:
Next step we are going to cut our design. Place vinyl glossy, shiny side down on a cutting mat. Turn on your Cricut and set the dial of your machine to Vinyl. Now in Design Space click Make It button. Click On Mat. Confirm the size of your Mat. Mine is 12” x 12”. Be sure to mirror the image. At this time your image is ready to be cut. Press the Arrow button. Then press C button to start cutting.
Once your image is cut, release the mat by pressing the Arrow button. Take the mat out, place it face down and peel it away from the design.
Step 4:
When you are done cutting, you will need to weed your design. We will get rid of unnecessary parts by gently removing them with the weeding tool. When you are done weeding and you like the result, move to the next step. If you are going to use the same rose as I did, the easiest method to weed roses will be peeling them from the bottom.
Step 5:
While my design is being cut, I heat up my Mini Heat Press. To protect the surface, I am working on from the heat, I am going to use Cricut Easy Press Mat. When using an iron, it is a good idea to apply a Teflon sheet on your design to protect it from melting. Also, you will need to apply more pressure with the iron, depending on the model since the heat distribution is not always equal.
We will need to preheat our bag for 10-15 seconds, before applying the design. Now place the design in the middle of the bag and apply the heat. Depending on the materials you use, the heating time will vary. With my mini heat it took approximately 30 seconds per area. After you are done applying the heat, carefully pull the corner to check if the vinyl is fully attached. If you see some spots that need to be fixed, press the vinyl back and apply additional heat for 25 - 30 seconds. When you are done on this side, flip the bag over and iron on the other side, around 15 seconds. Wait until your design is warm, not hot, then gently peel the plastic.
Allow your bag to cool for a few minutes before using it.

Check out our other Cricut projects and ideas.
https://www.magnoliamoonart.com/blogs/news/make-your-own-mug-with-cricut-explore-air
Thank you so much for reading!