How to set up a Cricut for the first time.
Thinking about purchasing a Cricut or already have one, but don’t know where to start? Learn how to set up your machine and test your first project.
Setting up the Cricut Machine is easy and the set-up process is similar for all Cricut Machines, including the Explore Air 2, the Cricut Explore Air 3, the Cricut Maker Family and the Cricut Joy.
Steps to set up the Cricut Explore Air 2.
To start you will need an internet connection and a computer, tablet or smart phone. The Cricut Explore Air 2 or any other Cricut Family Machine can be used either wirelessly or with a USB cable. Your Cricut machine will come with some items like a simple guide, a mat, a pen, cords, and materials for test cut.
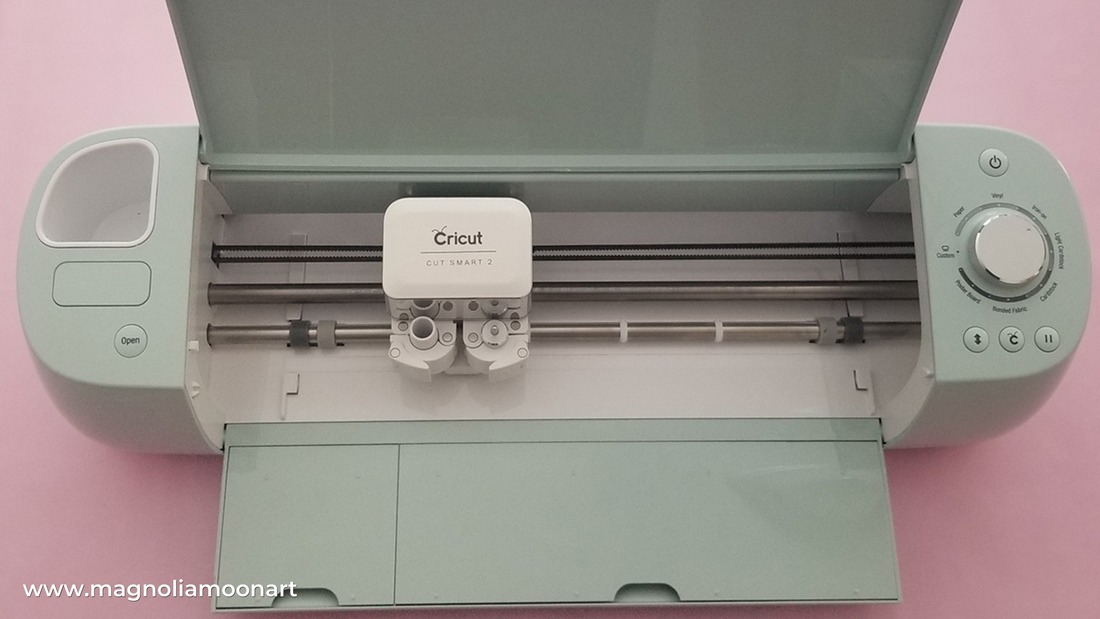
1.To begin, place the Machine on the surface, make sure you have enough space in front and at the back of your Cricut machine. At least 10 inches for the cutting mat to move. Plug the Cricut cord into the wall and the other end of the cord into the machine.
2.Connect your Cricut to your device via USB or Bluetooth. You can always set Bluetooth up later. For now, we will use the USB connection. Turn on the Explore Air 2.

3.Browse the official Cricut website on your device. Go to design.cricut.com/setup and download a program called Cricut Design Space.
4.Follow the instructions to create and sign in with your Cricut ID and set up your machine. You can use your e-mail address for your account.
5.You know the registration is complete when you are prompted to do test.
How to create a design
When you register your Cricut Machine, you will be offered six images for your test cut. Cricut Explore Air 2 has a dial with few selection materials. You will be prompted to choose cardstock.

You can choose to use any of these six images, and today I want to show you how to find additional free images and cut them on your Cricut Machine.
Go to Cricut Design Space. In the top right corner click on the button called New Project. Click on the Blank Canvas on the left of the screen. Then click on the image Icon on the left and choose Free from Highlighted Categories. Then type Snowflake and select the one you like the most. I chose the blue one. For your first successful project, it is important to choose a simple design, preferably one color.

Click on the image and resize it by pulling it on by the corner. You can also adjust the size of the image in the top ribbon. You can change the width and the height of the image to your liking from there. Now click the Make button in the right top corner. It will ask you how you want your material to be loaded. For this one choose On Mat. Click continue at the bottom right corner.

Next step is to turn your Cricut on. For the first project you can use a cardstock. Your Cricut already comes with preinstalled blades. Remove protective plastic sheet from the mat, set aside but do not throw it away. You will use the sheet to cover the mat when it is not in use. Put the cardstock on the mat. The mat is sticky; it will hold the cardstock in place. Set the dial of the machine to cardstock. Place the mat inside the machine and press the Arrow button. Then press C button to start cutting. Arrow Button and C Buttons are located under the dial on your Cricut Machine. Once you are done cutting, press the Arrow button again to release the mat. Take the mat out and place it face down and peel it away from the design.

When the process of cutting is done, you will need to “weed” your design, which means removing extra parts. You can use your fingers or special tools.
Now you have your beautiful snowflake from your first Cricut project.
What is Cricut Access?
Cricut Access is a premium subscription offered by Cricut, you do not have to pay a monthly fee. There are plenty of free images available or you can even upload your own. If you choose to pay a monthly fee, and it is only $9.99, you will get access to thousands of additional images.
I hope this blog was helpful for you.
Happy crafting!